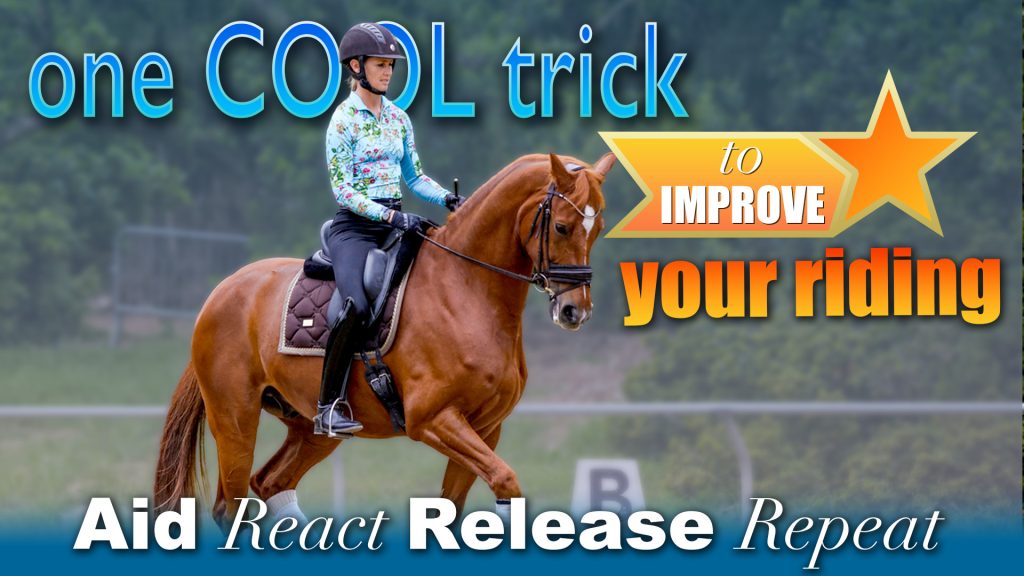


The concept of riding a circle can initially feel like an impossibility when we first start to ride horses! Going straight seems basic enough but circles can descend into a tug of war of drifting and turning and drifting and turning! (can anyone relate!?)
This week’s video shares one of my FAVORITE tricks for improving the quality of your circle riding and teaches you how to eradicate the dreaded drifting!
Start out by riding to the left. Most horses are hollow left and stiff on the right, meaning that they will overbend into the left and bulge out the right shoulder.
When we turn a horse like this…
- Their hindquarters drift out
- Their neck bends too far in
- The shape made in the arena is more of an accidental oval than a circle.
To avoid this frustrating cycle with our horses, instead of riding a circle, we’re going to ride a diamond!
Using the middle part of the arena, ride a diamond shape with B and E at either side of it and the centreline marking the top and bottom.
This exercise allows us to give a distinct turning aid to our horse and then reward them with a release.
When your horse is drifting, your turning aids are constantly in use, and your horse is never getting a release from your pressure.
You’re basically teaching them to IGNORE your turning aids.
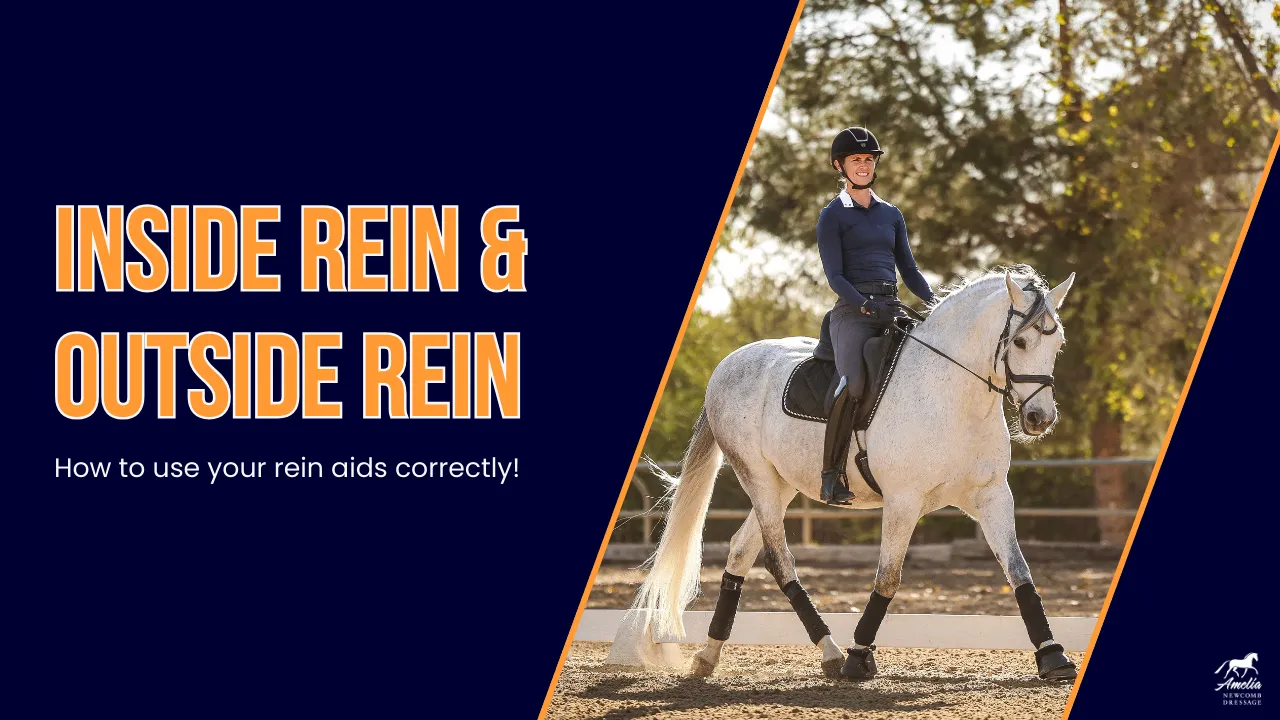
What are the turning aids? They’re mainly your outside aids.
- Outside leg behind the girth
- Outside rein by the whithers
- Inside rein indicates the directions like a car blinker
So to ask for the turn to the left, you’re going to place the pressure on with the outside rein and leg and push them in the direction you want them to go, while gently asking with the inside rein. Then when they turn, you release them into the direction you’re going.
Once you have mastered the diamond shape, then you can reduce the distance travelled before the turning aid and this time ride a pentagon, then graduate to a hexagon. This way your turn and release sequence is even shorter.
Another tip to help your circle quality is to practice in both directions. One side is always more difficult so you don’t want to get stuck in the trap of spending too much time on the easy side OR the hard side.
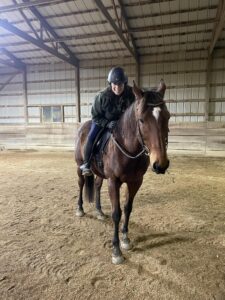
Have a look at this video where I demonstrated this with Phargo and let me know if you find it helpful in the comments!
If you want more help with your riding position, don’t miss my Rider Position Webinar this Sunday, you can sign up here!!
Thanks for watching and happy riding!