


Have you ever heard your instructor say “Keep your heels under you!” or something along that variation? Well today, ‘Train your Eye’ is back with Patreon Member Kjersin to help you solve your ear-hip-heel alignment struggles.
If you haven’t hear of my “Train your Eye” Segments, these are quick 2-4 minute reads with a submitted photo from a real rider in my community. These articles are designed to help train your eye for dressage, rider position, and more while also giving you associated feedback to help the rider (and you if you have the same habits!).
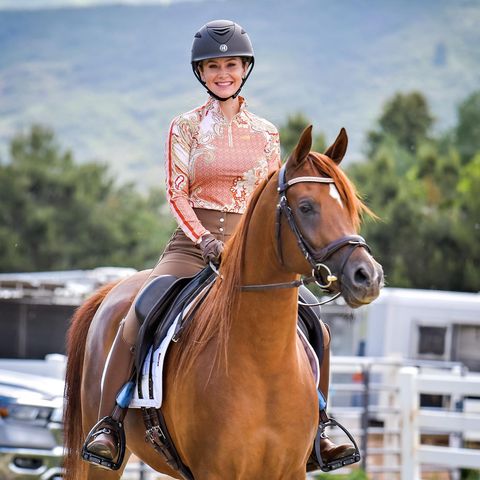
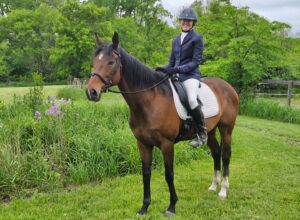
What I see:
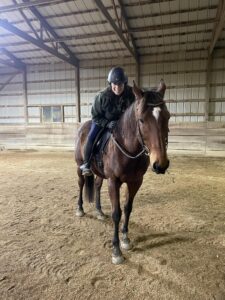
This is a nice photo to look at. Rider has a correct line from elbow, hand, to bit, and the horse is starting to track up (hind legs are falling in the footprints of the front legs), which means that he’s lifting and using his back. I don’t have much to complain about this photo!
If I could change one thing in this rider, I would ask her to tip her pelvis forward slightly and rotate her leg inwards… let me explain in detail!
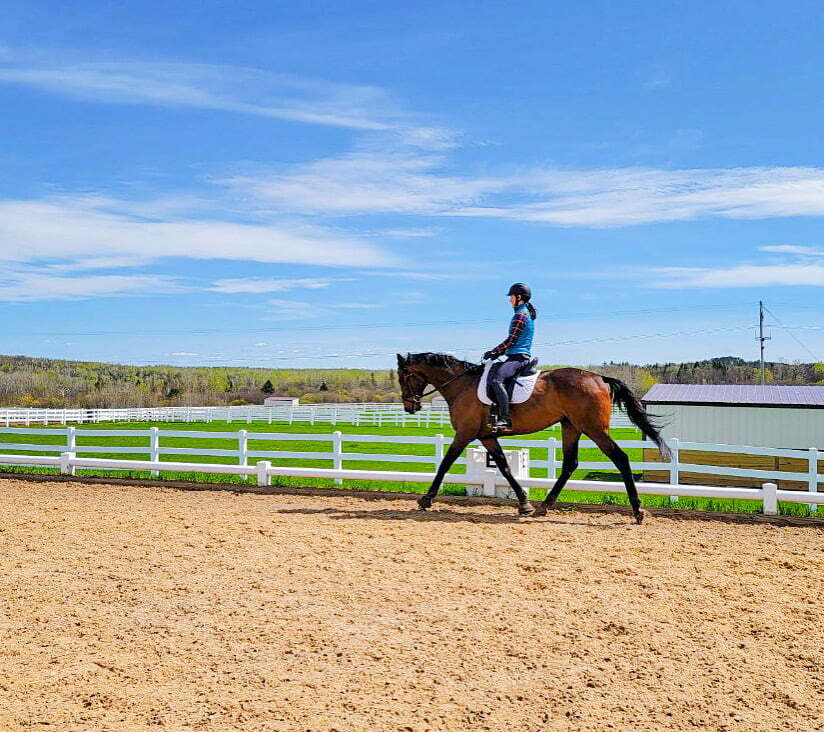
When we look at the line from the shoulder, hip and heel, we see that her heels are a little out in front of her (just slightly), this is what we would typically call a ‘chair seat’. Because it looks like how you sit in a chair, with your heels out in front of your hips.
Commonly, the misconception is that riders bend their knee more to try to pull their heel under their hip to ‘create’ that line. But in reality, because of the way the hips are tilted, riders will never get their heels to stay under their hips like that.
Here’s how you fix it. If we look at the rider’s pelvis region, we can see that she sits more on her back pockets than on her inseam and the flat part of her pubic bone is currently facing up. This is called a posterior pelvic tilt and this caused from habit, the saddle, weaker core, old injury, etc! We want her to rock her pelvic forward, so that her seat bones are pointed straight up and down, and the flat part of her pubic bone is facing forward. This will allow her leg to hang under her hips properly. This in turn will also allow her to move her seat more with the horse’s movement and be more comfortable for both of them!
With her leg more under her, she’ll be able to use her leg more effectively and independently. You remember how I said she needed to rotate her leg, right? Now on to that. Looking at her toes, we see that they’re pointed out, with this position of her leg she can only use her heel to apply pressure and this is often how riders get that ‘scrunched up’ heel when they ‘add leg’. Because they can’t activate their leg from the top down!
As coaches, if we say “toes forward” most riders rotate their ankles and stick their toes towards the direction of travel, but because they haven’t fixed the issue from the root of the problem higher up, the toes go right back out once the rider forgets about them. To truly and effectively get full use of her legs, it first comes from the pelvis tilt, then rotating her leg around in the hip socket so that her toes go forward. So it is to rotation of femur in the pelvis to fit the feet/toes! As a coach I would say “Sit upright on your seat bones and rotate your thigh forward”.
How to improve/exercise to try:
To work on this, I would ask the student to drop their stirrups in the walk to be less restricted by the saddle while they rotate their pelvis forward and back to find the correct up and down position of the seat bones.
Once the rider gets comfortable with that, I would add in the rotation of the thigh to put the toes forward. Note: Some riders might need to do halt or try this off horse to coordinate the correct position of the pelvic bone and the leg socket rotation at the same time. Often times riders will get one but loose the other until they learn the muscle memory.
Need a bit of help visualizing the leg position? Check out this video:
https://youtu.be/3Pj4XtLEdZ4
Out of the saddle these are some great exercises to work on. For this rider, I would even suggest doing a variation of the second last one where you simply rotate/turn the toe out from the hip bone to 90% and then back to center/straight forward (it’s the back to center that’s the important part) without changing the tilt of the pelvis. https://youtu.be/nn6yoygYTjU
Interested in more about the muscles and biometrics of the rider? Check out the free rider position mini course!