







Piaffe is one of the most advanced movements in Dressage, but the concepts behind it can benefit every horse. Even if you have a young horse or you’re riding at the lower levels, introducing the idea of piaffe helps your horse engage the hind end, sit more behind, and develop better balance and coordination.
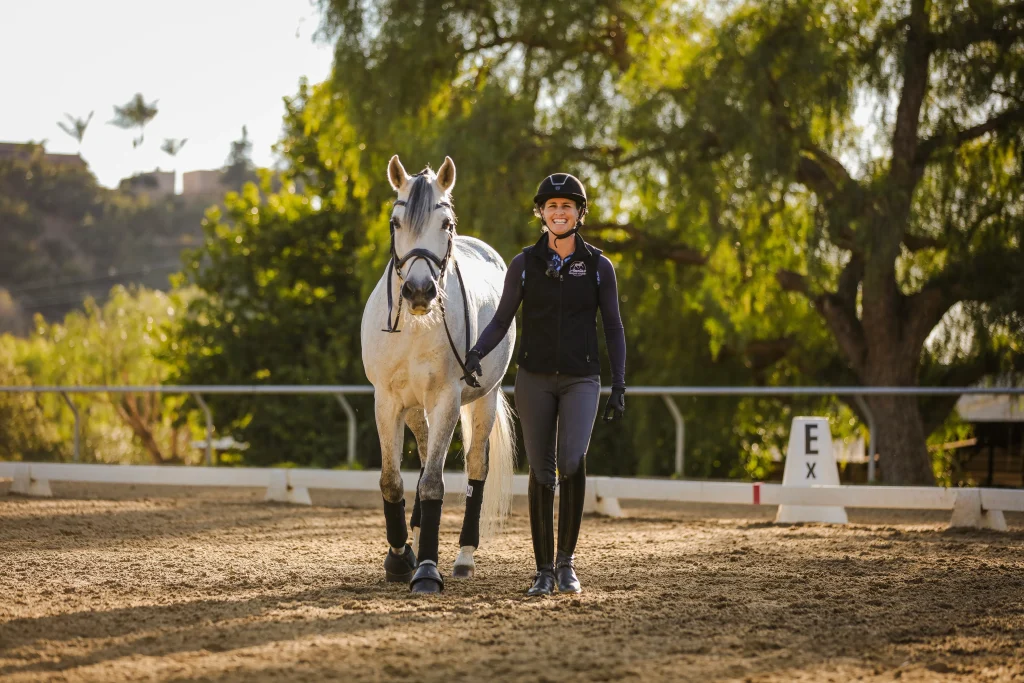
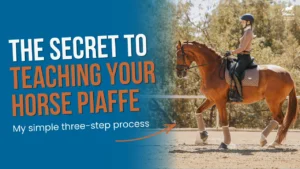
In this video, I walk you through the step-by-step process I use to teach piaffe in-hand. The goal is to build understanding one small step at a time through clear, consistent groundwork for horses.
Before we dive in, if you’d like to learn my complete groundwork system, be sure to check out my Dressage Groundwork Superpack. Enrollment is only open through this Saturday, August 1st! Inside, I teach all of the in-hand exercises I use to build communication, engagement, and collection from the ground.
Piaffe Starts with Groundwork
One of the biggest mistakes riders make is trying to teach piaffe before the horse understands the basic groundwork building blocks. This movement takes time, strength, coordination, and clear communication, so it is important to break the process down into small, manageable steps.
Teaching Piaffe Step 1: Red Light Green Light
The first step is what I call “red light, green light.” Walk forward with your horse, stop, back up, and walk forward again. Your horse should begin responding to your body language without needing you to pull on the reins. The goal is for the two of you to move together almost like dance partners. This also improves basic leading manners and teaches your horse to stay attentive to you.
Teaching Piaffe Step 2: Leg Lifts
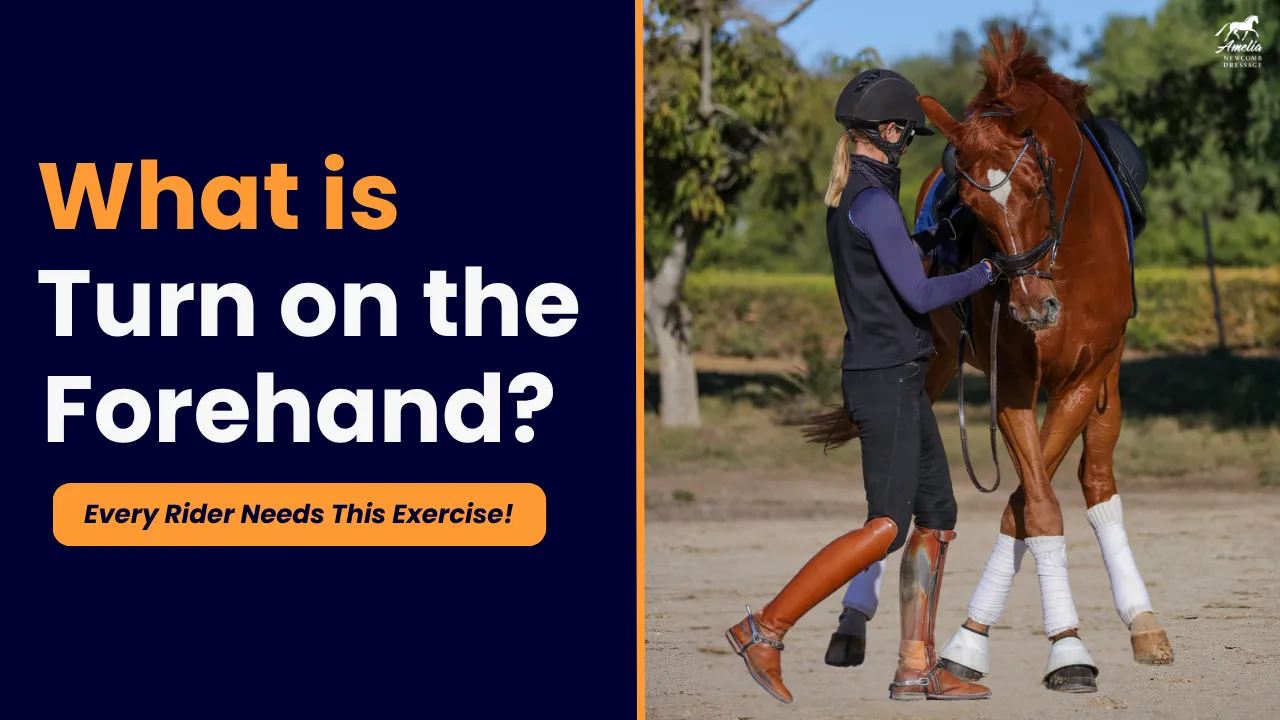
Once your horse is following your body language, the second step is teaching individual leg lifts. Position your horse beside a wall or rail to help them stay straight. Using a bamboo stick, gently stroke down the hind leg and tap until your horse lifts and holds the leg. As soon as they respond, release the pressure. Practice until you can reliably ask for either hind leg from both sides of the horse.
Leg lifting is a valuable balancing and coordination exercise on its own. Your horse has to shift their weight, balance on the opposite hind leg, and become more aware of their two hind legs. This stage can take several weeks, so give your horse plenty of time to understand the exercise before moving forward.
Teaching Piaffe Step 3: Walking Leg Lifts
The third step is introducing walking leg lifts. Ask your horse to walk forward in a collected, organized rhythm, then time your cue as the inside hind leg is preparing to leave the ground. The goal is to encourage that leg to take a slightly higher, more active step. This exercise tests both your timing and your horse’s coordination, so start with just a few correct steps.
Once the walking leg lifts are consistent, you can begin asking for half steps. Start with the same walking leg lift, then continue encouraging the hind leg to become quicker and more active until your horse offers one small half step. Reward that effort immediately. Over time, those individual half steps can gradually develop into piaffe.
Building Piaffe One Step at a Time
One of the most important lessons in teaching piaffe is patience. This isn’t a movement that happens in a single training session. It develops gradually as your horse becomes stronger, more balanced, and more confident in the exercises.
By taking the time to build each piece correctly from the ground, you’ll find that many of the movements become much easier once you get in the saddle. Your horse already understands what you’re asking, making the ridden work clearer and more enjoyable for both of you.
Happy Riding!
Amelia
P.S. If you’d like to learn my complete system for teaching piaffe and other Dressage movements from the ground, be sure to check out my Dressage Groundwork Superpack. I’ll walk you through every exercise step by step so you can build a confident, balanced, and athletic horse. Learn more and join here.