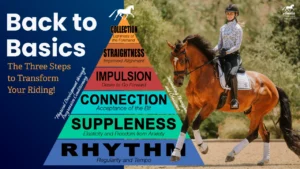


Does your horse rush in the canter? Run onto the forehand? Struggle to stay balanced? Feel stiff or break when you try to collect? These are all signs that your canter needs more adjustability.
When you first start, you only have one “gear” in the canter – you’re just happy to be able to canter! But as you become more advanced, you want to teach your horse to lengthen or shorten the stride, add power without losing balance, and keep your horse straight and connected. Adjustability is the bridge between a working canter and more advanced work like flying changes, half-passes, and pirouettes.
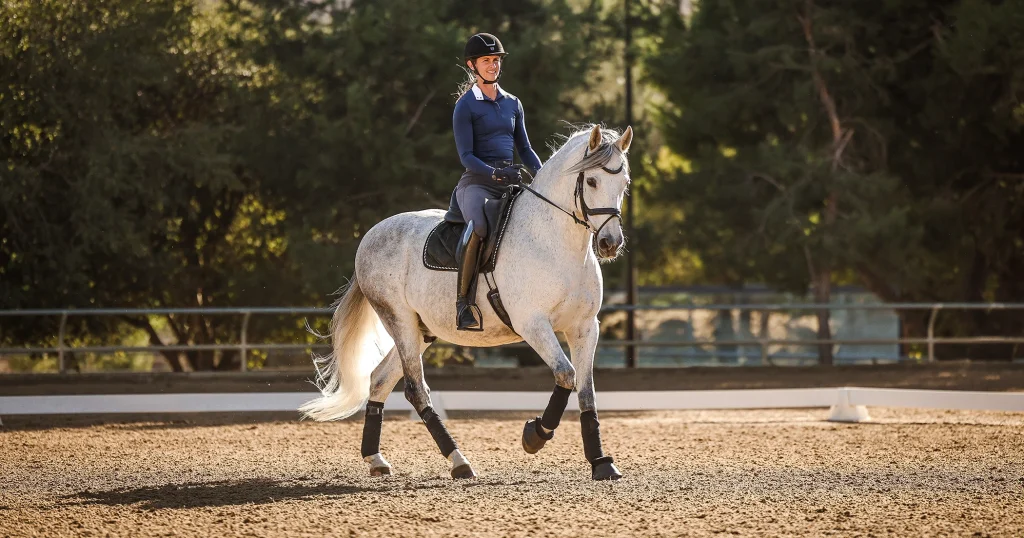
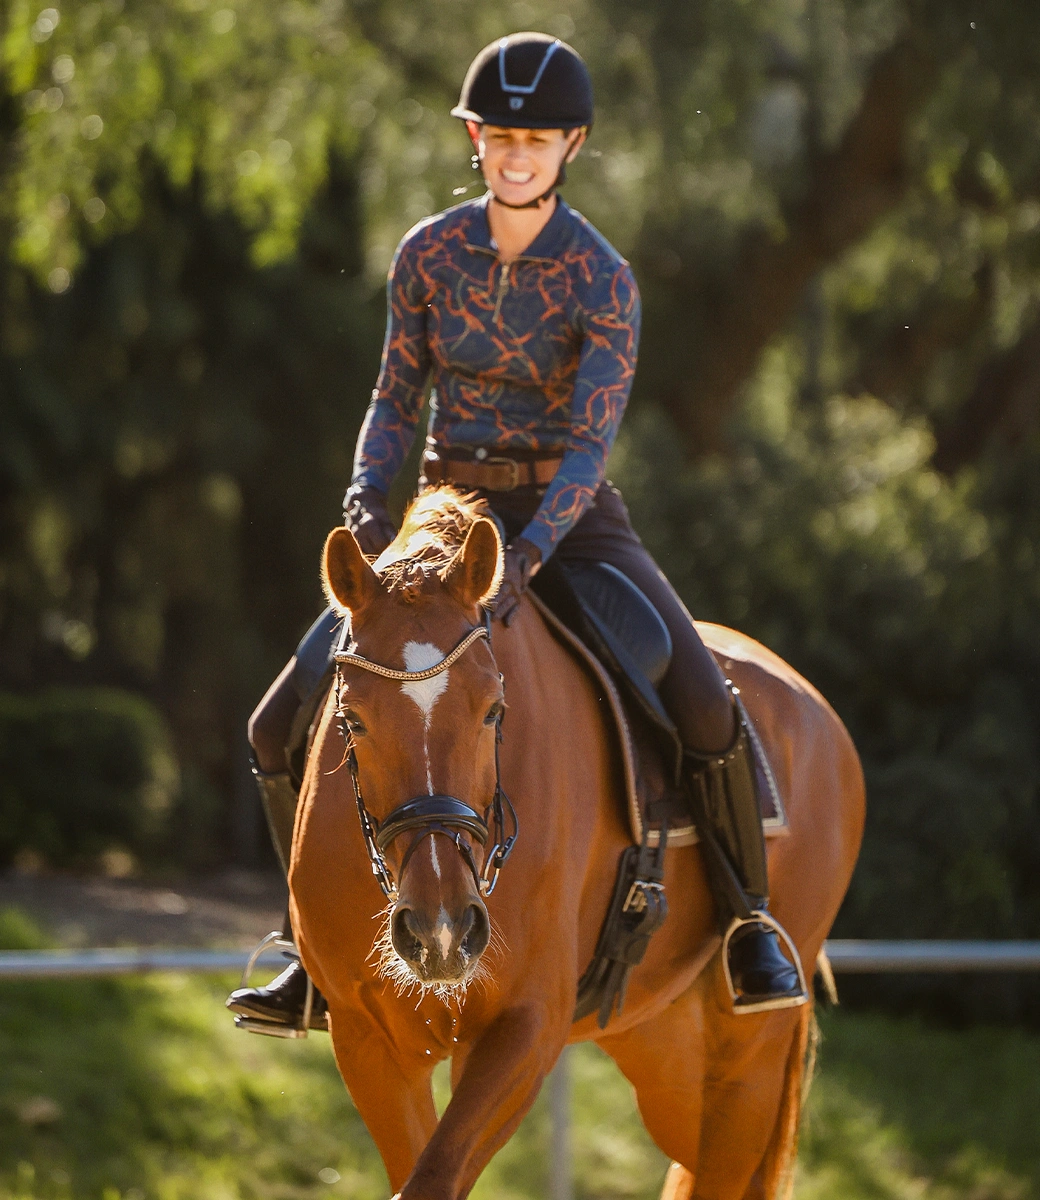
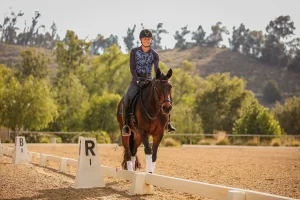
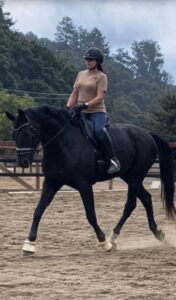
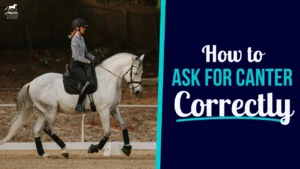
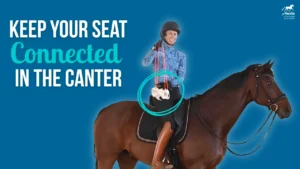
In this video, I’m riding Mercurio and walking you through the key steps to develop adjustability in the canter—whether you’re just moving up to First Level or looking to polish your upper-level work.
Let’s break it down step-by-step.
Step 1: Establish a Quality Canter
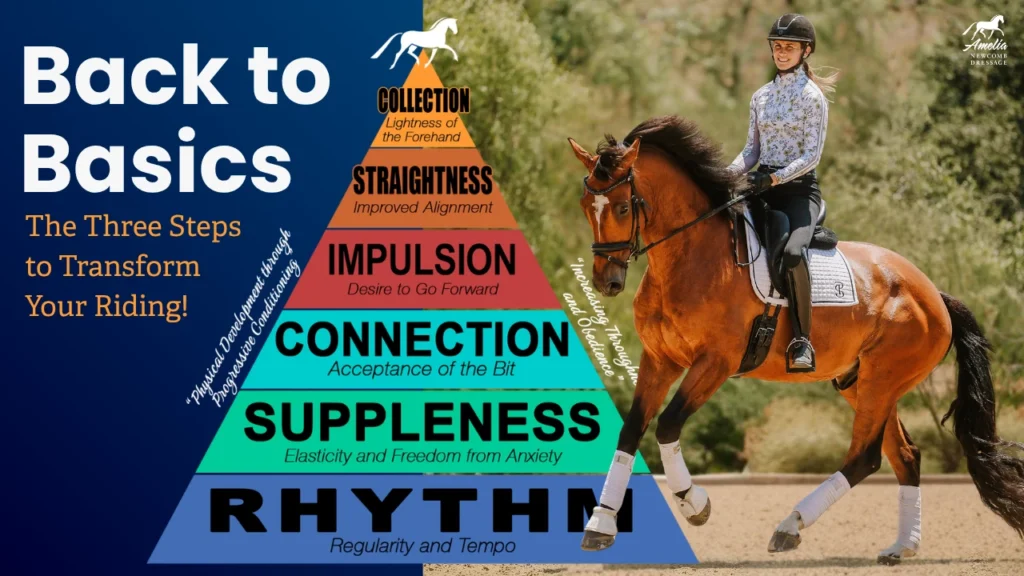
Before you start playing with adjustability, check your rhythm. The canter has a three-beat rhythm—1-2-3, 1-2-3—and it should stay consistent no matter what you’re doing. That rhythm is the foundation of all the gears we add later.
Start with a working canter and feel the consistent beat. Stay centered, keep your horse in front of the leg, and make sure the tempo isn’t too fast or too slow.
Step 2: Develop Bigger and Smaller Strides
Once the rhythm feels good, you can start to add gears:
- Use your leg to ask for bigger strides.
- Use your seat and half-halts to create smaller, more collected strides.
Play with going forward and coming back, always staying in the same canter rhythm. You might make mistakes, and that’s okay. The goal is to build strength, balance, and responsiveness.
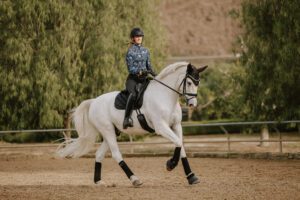
Step 3: Add Straightness and Lateral Movement
After you’ve introduced forward and collected gears, start working on straightness in the canter. This is where shoulder-fore comes in. This exercise helps to align your horse’s inside hind leg between the two front legs using your inside leg and outside rein.
Once your horse can stay straight, add sideways movement. Try a little leg yield in canter—off the rail and back. Don’t worry about a full half-pass yet. You’re just teaching the horse to respond to your leg without losing balance or rhythm.
Bringing It All Together
Eventually, you want to be able to combine all of these: go forward, collect, stay straight, and move sideways—all in canter. This is the foundation for more advanced work like pirouettes, flying changes, and counter canter.
Keep in mind that the canter is naturally asymmetric. One lead will feel easier than the other, and that’s normal! Use these exercises to build strength and balance on both sides. I hope these tips help you and your horse!
Happy Riding,
Amelia
P.S. If you need more help with your canter, check out my Free Canter with Confidence PDF Mini-Course. Inside, you’ll find my top tips for riding a smooth and balanced canter. Click here to download your copy.