


Want to improve your position, effectiveness, and overall technique in the saddle? One of the best tools you can use might already be in your pocket: your phone.
In this video, I’m showing you three easy ways to film yourself while riding—from the most basic setup to more advanced tools—plus why it’s such a powerful way to progress faster. Whether you ride alone or have someone who can help you, you’ll find a method that works for you.
Why Video Is So Helpful
Seeing yourself ride gives you instant feedback. You might think you’re sitting straight, but the camera says otherwise. I hear this all the time from my students inside Strides with Amelia, one of my online programs, where we offer video review over Zoom. Students can submit videos of their riding to my team and me, and we meet over Zoom to discuss their ride, goals, and what they need to work on to improve.
“As a new learner, this is the first time I’ve taken videos of myself, total game changer! Helps so much with understanding what is working and what needs improvement. Thank you for guiding me to use this tool!” ~Gabriela, Strides Student
When you can see what’s actually happening, you can start to connect the feeling in the saddle with how it looks from the ground. That’s the kind of awareness that leads to real change.
Let’s break down three easy ways to film your rides.
Method 1: Set Your Phone on a Prop
This is the simplest option—and all you need is your phone and a little creativity.
- Prop your phone up using cones, rocks, or a fence post.
- Make sure it’s recording in horizontal mode (you’ll get a wider field of view).
- Aim the camera at the center of your arena or a circle at E or B.
- Hit record, ride for a few minutes, and watch it back!
You can even zoom in afterward to get a better look. It may not be perfect, but it’s more than enough to spot things like posture issues, frame, crookedness, or how well your horse is going forward.
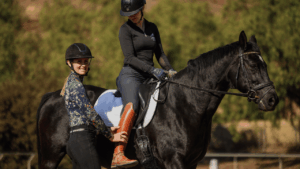
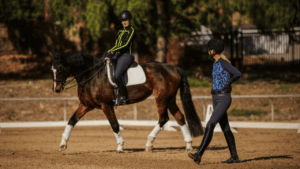
Method 2: Ask a Friend (or a Willing Spouse 😉)
If you’ve got someone who’s game to help, here’s what to do:
- Show them how to hold the phone horizontally.
- Explain how to zoom in and out (most phones have a slider or thumb function).
- Ask them to keep you and your horse in the center of the frame.
- Ride your exercises or a test – 3-5 minutes is plenty of footage to work with
- Don’t forget to thank them for coming to the barn to help you out!
Method 3: Use a Pivo
This is the most advanced and hands-free option.
The Pivo is a smart tracking device that holds your phone and follows you as you ride using AI. It pans, zooms, and keeps you centered in the frame—even when you’re working solo. It’s great if you ride alone often and want to film your full rides or lessons.
Here’s the link to the Pivo I use if you want to check it out.
What to Look For in Your Videos
Once you’ve recorded a few minutes of your ride, here are some things to watch for:
- Is your horse forward enough?
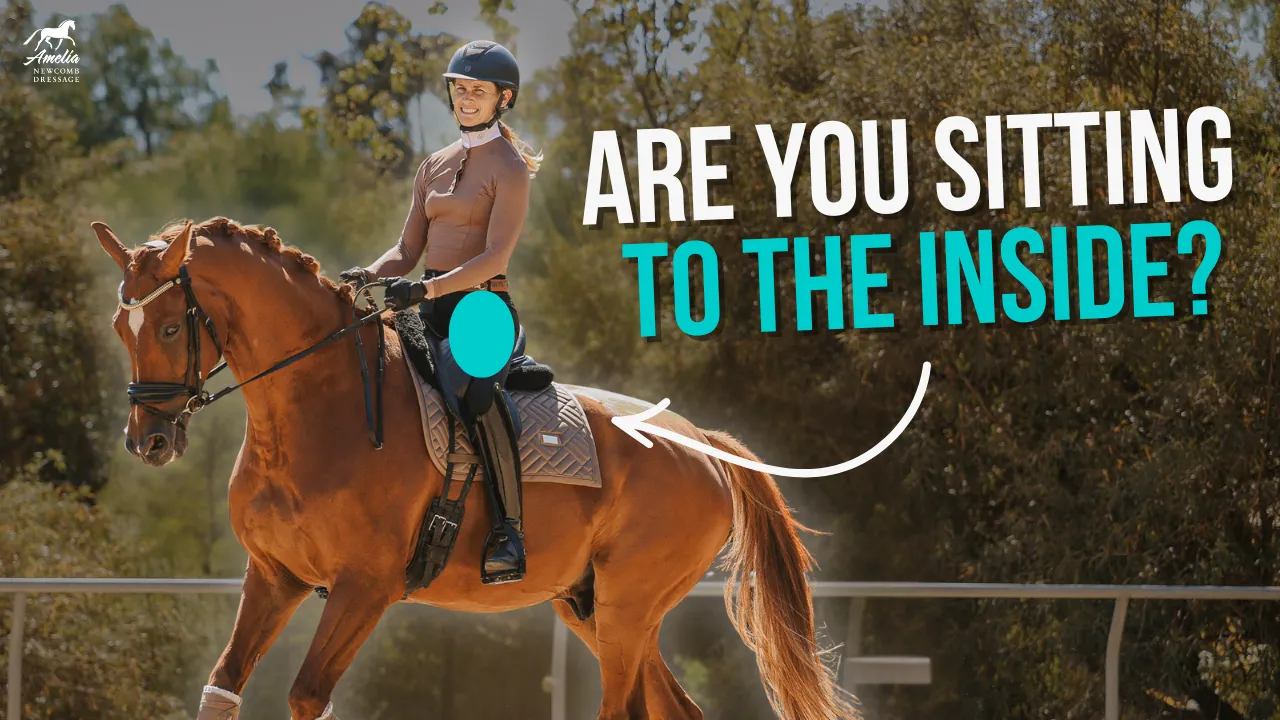
- Are you sitting straight and aligned?
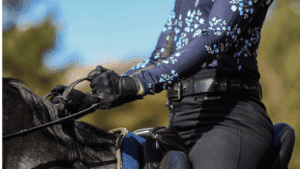
- How’s your hand position—steady or bouncing?
- Are your transitions smooth and consistent?
- Does your horse stay in the contact and round?
Ride both directions and include a few straight lines toward the camera. This will give you a full picture of your symmetry, straightness, and effectiveness.
And yes—it can be hard to watch yourself at first. But that awareness is what helps you improve. You might cringe at floppy reins or wiggly hands, but once you see it, you’ll fix it!
Video is one of the best ways to accelerate your riding progress. It’s easy, inexpensive, and gives you the feedback you need to improve.
Happy riding!
Amelia
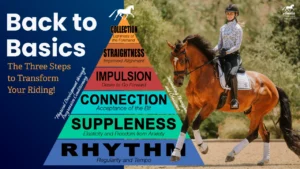
P.S. Did you know, understanding concepts like half-halt, roundness, and connection will go a long way to help you ride better and with more clarity. If you need help with your Dressage vocabulary, make sure to download my free PDF with 10 Dressage terms every rider should know.