


Last Updated: 5/7/2026
Do you ever feel like your canter transitions are messy, rushed, or just not quite right?
Maybe your horse picks up the wrong lead, feels unbalanced, or falls onto the forehand—and you’re left wondering what went wrong. The truth is, a good canter transition doesn’t just happen in the moment. It’s created by what you do before you ask.
In this video, I’m sharing three simple steps that will help you create smooth, balanced canter transitions—plus a very common mistake riders make (and how to fix it).
And save the date – my 30 Day Canter Challenge STARTS May 1st! This will be an epic 30 Days of learning and fun, and I cannot wait to help you perfect your canter.
Okay, now on to the tips!
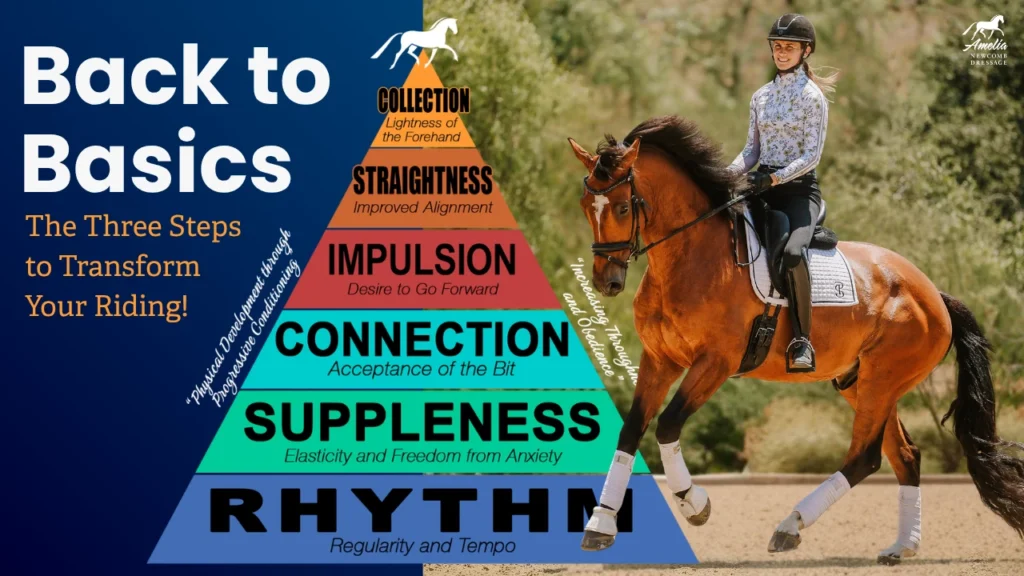
Why the Canter Transition Matters So Much
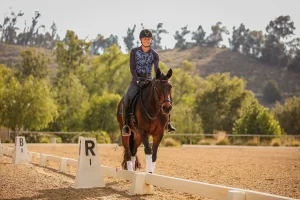
We all dream of that perfect transition where your horse steps into canter effortlessly—round, balanced, and on the correct lead.
And here’s the key: if your transition is good, your canter will be good.
On the other hand, if the transition is rushed, unbalanced, or unclear, the canter will feel the same way. That’s why it’s so important to focus on your preparation.
Step 1: Create Adjustability in Your Trot
Before you even think about cantering, you need to make sure your trot is adjustable.
Start by simply noticing your horse’s natural two-beat trot rhythm. Let your horse settle into a steady tempo first. Then, begin to influence it.
Ask your horse to go a little more forward, then bring them back again. Think about:
- Going slightly faster with your leg
- Slowing slightly with your core and a half-halt
You should be able to smoothly go forward and back without your horse losing balance or rhythm.
This is important because:
- If your horse won’t go forward, they’re not in front of your leg enough to canter
- If your horse falls onto the forehand or loses balance, the transition will be unsteady
The quality of your trot directly affects the quality of your canter transition.
Step 2: Establish Bend on a Curved Line
The second key ingredient is bend.
Because canter has a left lead and a right lead, your horse needs to be slightly bent in the direction you’re asking before the transition.
A simple way to check this is to ride on a circle and look for a slight inside flexion—you should just be able to see the inside eyelashes.
This tells you that your horse is:
- Soft through their body
- Following the curve
- Prepared to strike off on the correct lead
Asking for canter on a straight line makes it much harder for your horse to understand which lead you want.
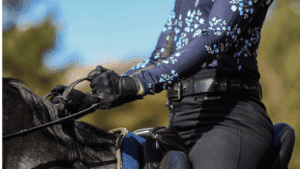
Step 3: Use the Correct Canter Aids
Now that your horse is prepared, it’s time to ask.
The correct aids for canter are:
- Inside leg at the girth
- Outside leg slightly behind the girth
Before you ask, use a small half-halt to rebalance your horse. Then apply your aids and think forward into canter.
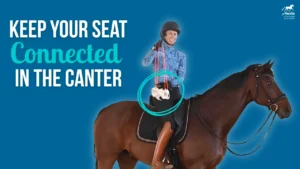
As your horse strikes off, follow the rhythm. The canter is a three-beat gait, and following that motion with your seat helps your horse stay relaxed and balanced.
The Common Mistake (And Why It Matters)
In this video, I actually demonstrated the wrong aid first as a little test (Happy April Fools Day!).
If you switch your leg aids—putting the inside leg back and outside leg forward—you’ll often get the wrong lead or an unbalanced transition.
This can even lead to counter-canter, which is a much more advanced movement.
So if your horse is picking up the wrong lead, one of the first things to check is your leg position.
Putting It All Together
The canter can feel intimidating at first, especially if transitions haven’t been going smoothly. But with the right preparation and a clear understanding of your aids, it becomes so much easier.
Happy Riding!
Amelia
P.S. If you’d like a step-by-step guide to help you prepare for canter, be sure to download my free PDF with five exercises to do before you canter. It’s designed to help you feel more confident, balanced, and ready every time you ask for the transition. Download your free guide here.